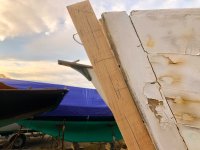
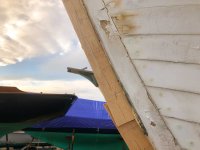
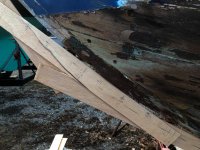
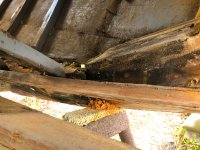
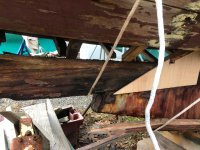
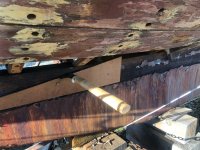
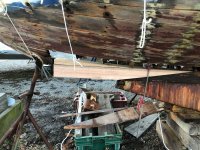
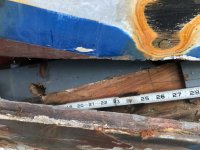
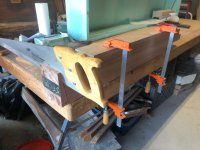
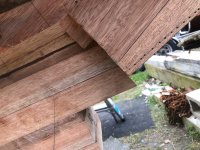
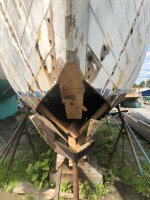
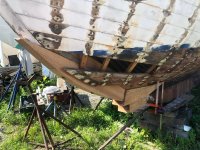
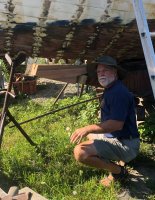
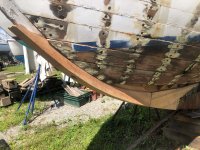
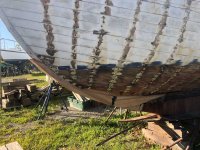
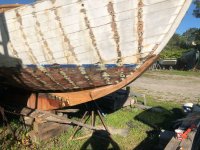
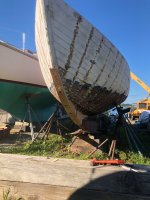
For years I've been keeping my eye on the front of the keel. From the outside there was a few deep canyons where wood had fallen out of the stem where it meets the keel. Here's a picture:
The left side of the picture shows the damage. To get at the stem end I needed to remove the chock holding the stem to the keel.
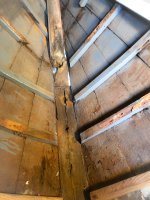
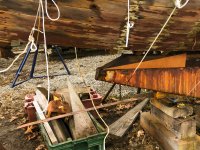
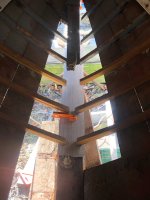
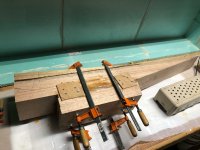
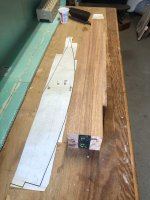
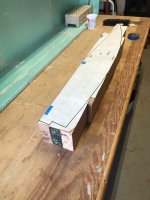
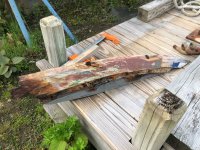
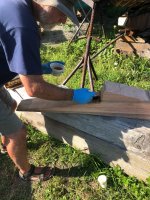
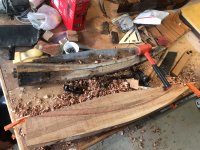
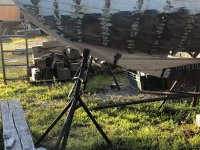
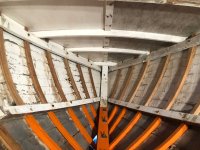
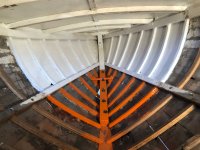
Before starting on this journey, I documented the shape of the bow. The picture above shows the pattern I'm transferring the data to. The crosses with 7" next to it are the points and direction where the planking rabbit is. These marks are every 6 inches. Also noted are the locations of the bolts, end of ballast and where the two pieces meet.
Here are the pattern pictures and notations November 2019: Click on the pictures for captions.
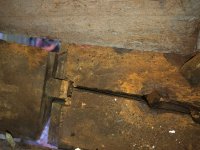
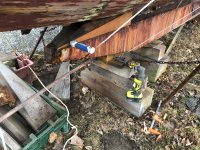
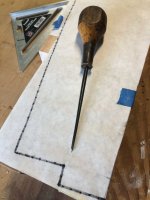
Now that the pattern has been made, I have the shape and locations of what is about to be taken apart. Now to move to the inside of the boat. The first order of business is to remove the bolts connecting the chock to the sem and keel. Here are a couple of pictures of the fasteners I took out:
Not an awful lot left of the iron bolt. The rest were a little of a challenge but nothing serious.
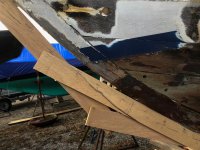
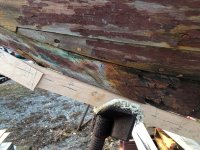
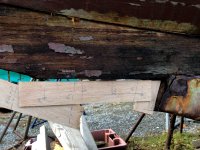
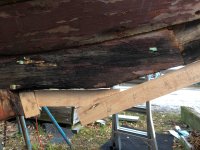
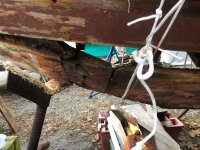
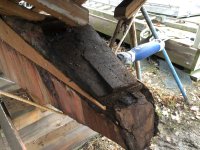
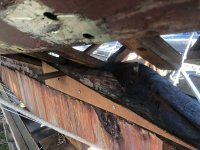
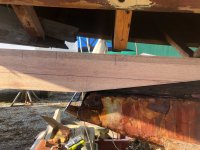
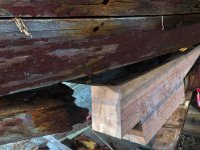
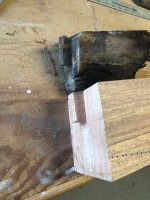
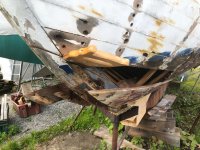
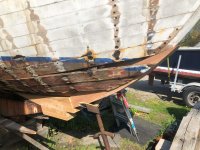
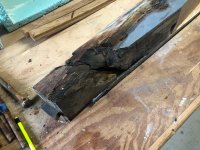
The pictures below show the chock removed and the carnage if what was underneath.
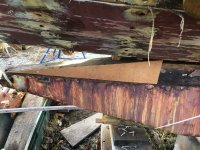
Winter of 2020 was demolition time for the keel and stem.
With a good scarph joint cut and since it was mid January I soaked the scarph with Cold Weather CPES for a few days, one application per day until the wood was done absorbing.
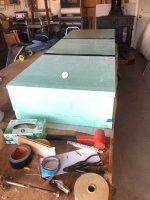
With this done I started working on the replacement keel end. Seeing this was January in Connecticut the temperature hovers up to about freezing during the day. Epoxy doesn't like to cure in cold temps. The general rule of thumb is the catalyst reaction doubles in time every twenty degrees of change in temperature. I use Smith & Co. Oak and Teak Epoxy Glue. Although this glue will fully cure at these temperatures, I wanted to speed things up so I built a gluing oven. Using foam "Project Panels" (basically 2' X 4' insulative foam) from the local construction superstore, I built a box big enough to cover the glue-up.
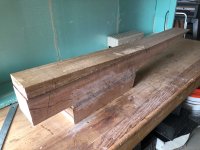
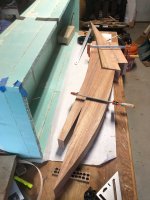
At this point it is mid March 2020. Covid shutdown in full swing. I have more time to devote to this project. A boatyard in the winter is a form of quarantine so I just kept on going. The next step was to fabricate a new chock. The old one was a great template. I transferred the outline to sheet paper and transferred to the laminated wood for cutting. Since we already have covered the lamination process, I'll skip the pictures on that. These pictures are of the transferring of the shape.
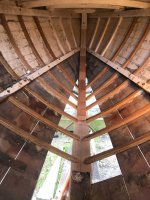
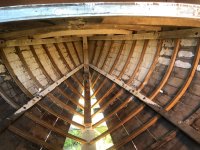
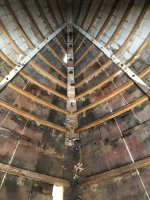
The timeline on this work is a little confusing by looking at the pictures. After removing the bulkhead (see Reframing the Situation) I removed the chock. Then I cut the front of the keel. I rebuilt the front of the keel. Using the chock in place on the stem attached with rod stock in stead of fasteners and clamps, I was able to get the shape of the new keel piece. I planed an fabricated the new stem piece while leaving the stem intact. Then I fabricated the new chock. During this time I was replacing the bow frames since the hole was open. Here are the pictures from April to May 2020:
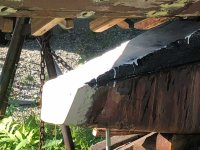
June of 2020 and the framing is done. Now it's time to glue the new keel end to the keel. First the bolts holding the whole thing together need to be drilled. then the front of the ballast needed to be added to since the iron had crumbled and became ragged. I used the new keel piece as the form. I didn't document this with pictures. Basically i removed the crumbling iron, buffed what I could with a wheel, treated it with a phosphorus treatment that turns iron oxide (rust) into a stable surface to glue to. I used carton tape (the clear stuff) on the keel end and the chock as a barrier so the epoxy wouldn't stick to the wood. I mixed up Fill-It and applied a thick coat to the end of the keel. Fill-It is a pre thickened epoxy that is like wood when it cures. It's the white stuff in all of the pictures. Finally I bolted the keel end in place and let it cure. During this time I also replaced the porch columns on my house slowing the progress on the boat. Here are the pictures of the assembly:
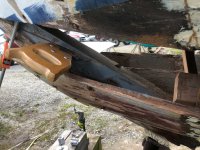
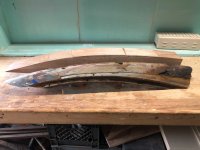
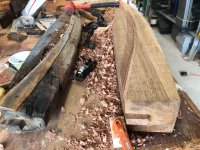
With the dry fit of the new pieces done, the rabbet needs to be cut into the new stem. Without this the planking will not have anything to screw into. The picture on the left is the reconstruction of the two pieces of the old stem. On the right is the stem on its back looking closely the rabbet can be seen. I simply measured from one to the other to create points to join using a fairing batten. Then with wood chisels and a rabbet plane, cut the rabbet.
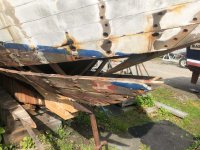
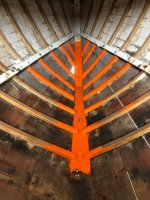
Finishing up the bow reconstruction was basically gluing the new stem to the old stem. I again protected the chock with carton sealing tape to prevent gluing the whole thing together. After the Oak & Teak epoxy had set, I dissassembled the chock, removed the tape, coated everythig with CPES (clear penetrating epoxy sealer. The next time Icame down I coated everthing with red lead paint to preserve adainst decay. By now its the end of September.