The bow reconstruction took almost all of 2020. Luckily with the Covid lockdown early in the year I had time to do the bow reconstruction. During the summer one nasty summer pop up storm, I took refuge inside the boat for the twenty minuets or so.
Looking around I noticed water pouring over the inside of the planking from the deck shear strake seam. This answered the nagging question of why the planking was decaying as fast as it is. So I became determined to make putting a toe rail on the boat as soon as the bow was done.
I left the shaping of the new wood of the bow repair for later so I could focus in the toe rail. Since it is mid October at the time I knew I only had a month to pull this off.
I started by picking up a 10' long board of Honduran Mahogany 1 1/2" thick and wide enough for 13 strips. I proceeded to rip the 12 strips about 1" wide. The toe rail would take up 6 pieces and the rub rail the other six. I actually had leftover for shorter rail items but as you'll see not quite enough.
Milling the rail was rather straight forward.


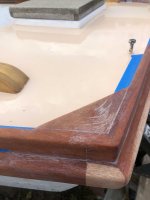
Here are the shapes of the milled lumber. The toe rail was left square on the top. This allowed specific centering of the fasteners during installation. The taper is the inboard side of the railing. The rub rail has a rounded drip edge on the bottom. This keeps rain water from running down the side of the hull. Once the lumber was milled, I cut the 8:1 scarph on the ends of the center pieces and one one of the aft and forward ends. Making sure to label the scarf joints so to avoid confusion during gluing. Since the overall length of the glued rails will be about 21', I decided to glue them up on site. I've seen folks try to glue them up on the boat during installation. It never works. The scarph wouldn't take the bend and either break or look horrible. I glued these rails up on a 16' staging plank. Sorry but for some reason I didn't photograph the process.
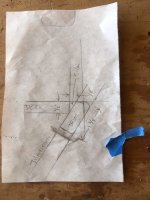
The toe rail is to be an extension of the hull over the top of the deck. The angle at the bow is different from amidships and the transom area. Before installation I marked off every 1' interval from the bow and scribed the bevel on a strip of wood noting each location for the bevel on the hull. Then I transferred the bevel to the bottom of the toe rail and planed the rail to match the bevel.

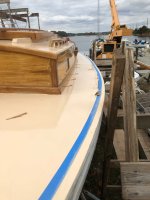
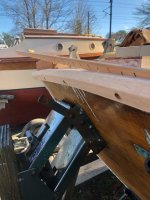
Here are the pictures of the toe rail being installed.


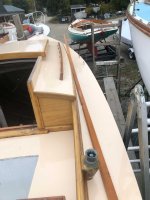
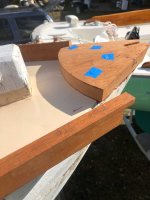


Once the toe rail is installed the rub rail gets installed. I had to bevel the rub rail at midline due to the shape of the hull. It only cut into the drip edge a little. Since by now were in early November time was of the essence and we didnt stop for photos. The transom was rather interesting. The rub rail was easy but there was a space where the plywood of the deck wasn't beveled out to the angle of the transom. So I had to insert a triangle shaped of wood to fill the gap. Finally a day of shaping and sanding the whole thing.
I did get pictures of this:


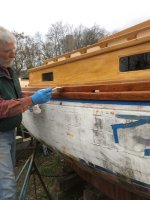
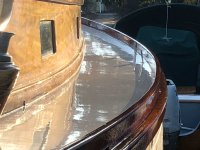
Now all thats left is to apply the finish. By now its November 22 and the tempreture is dropping. First I apply a coat of CPES to seal the wood. Then I applied four hot coats of Bristol Finish Traditional Amber. I finished the brightwork on November 29 2020.


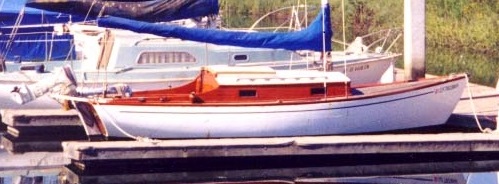
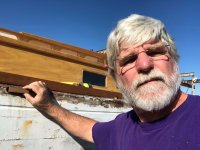
A blast from the past. Thirty years ago I hauled out at San Francisco Boatworks and did a paint job that I covered earlier on this web site. Here is what thirty years does to a person. Same boat, same person. I still have the same red T shirt.

Now winter is here and its time to cover the boat and start on the interior work.